微信小程序?qū)W習(xí)點(diǎn)滴《十一》:選擇器 時(shí)間選擇器 日期選擇器 地區(qū)選擇器 .
發(fā)布時(shí)間:2018-03-29 18:35 所屬欄目:小程序開(kāi)發(fā)教程
用微信封裝好的控件感覺(jué)很好,為我們開(kāi)發(fā)人員省去了很多麻煩.弊端就是不能做大量的自定義.今天試用了選擇器.
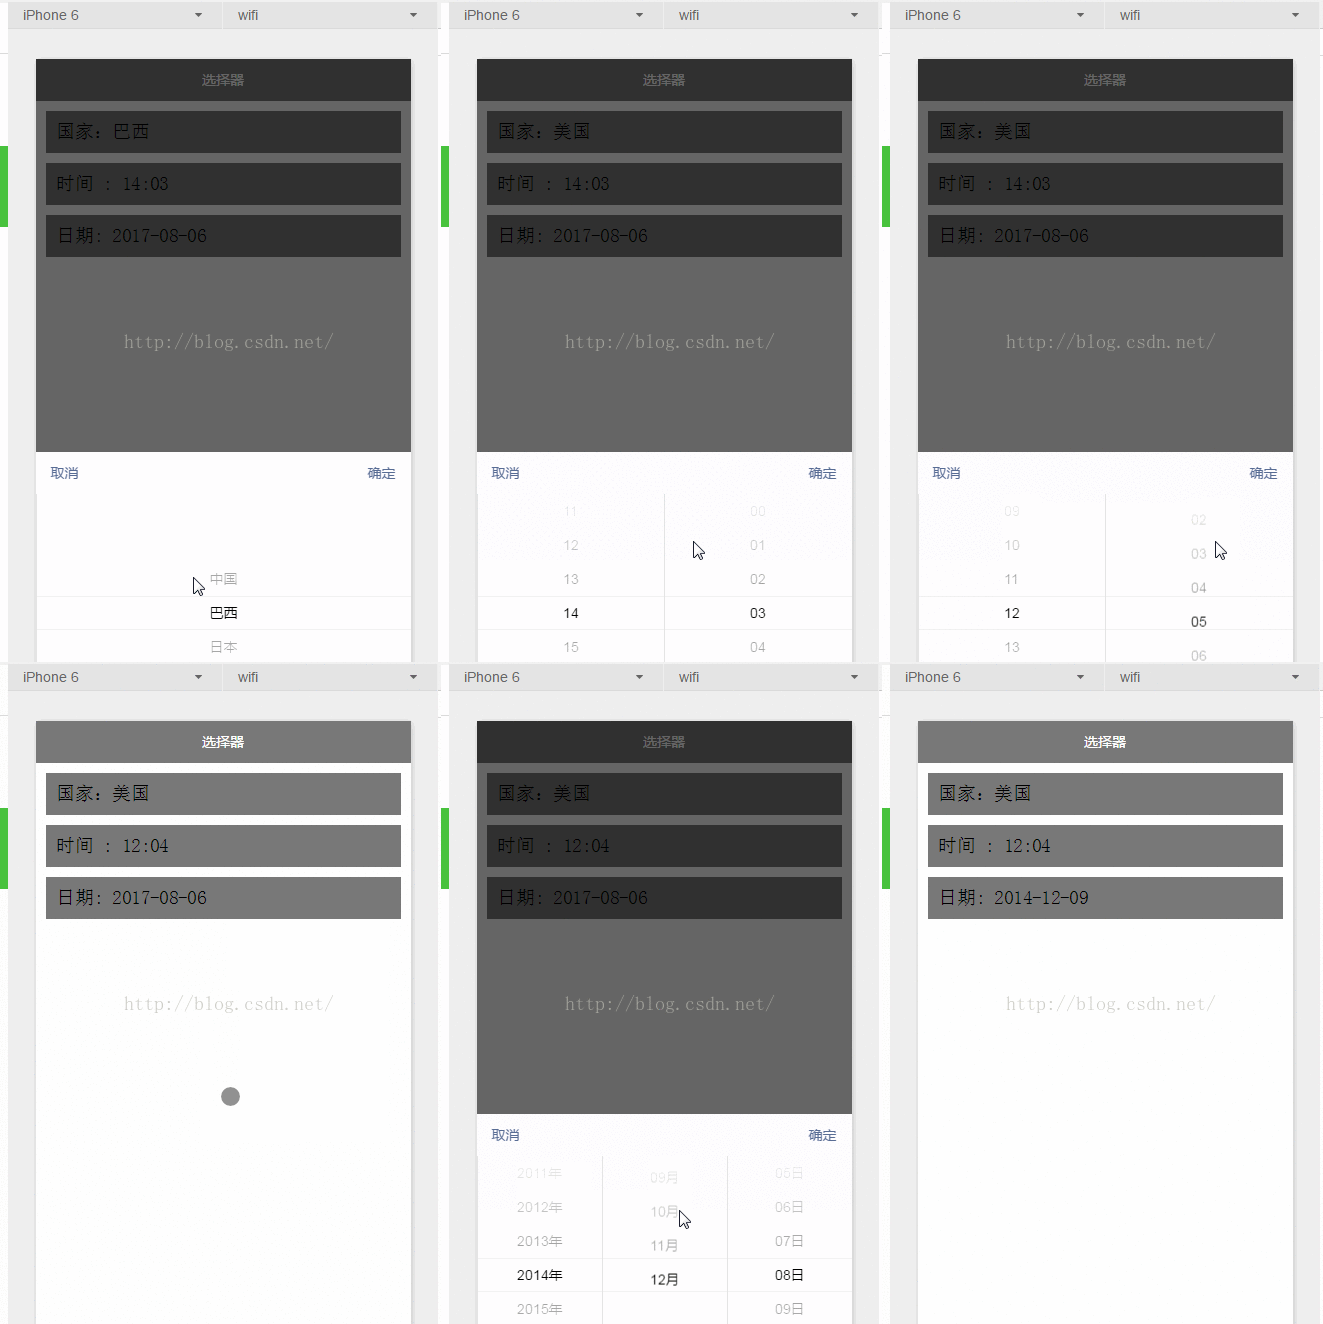
上gif:
上代碼:
1.index.js
- //index.js
- //獲取應(yīng)用實(shí)例
- var app = getApp()
- Page({
- data: {
- date: '2016-11-08',
- time: '12:00',
- array: ['中國(guó)', '巴西', '日本', '美國(guó)'],
- index: 0,
- },
- onLoad: function () {
- },
- // 點(diǎn)擊時(shí)間組件確定事件
- bindTimeChange: function (e) {
- this.setData({
- time: e.detail.value
- })
- },
- // 點(diǎn)擊日期組件確定事件
- bindDateChange: function (e) {
- this.setData({
- date: e.detail.value
- })
- },
- // 點(diǎn)擊國(guó)家組件確定事件
- bindPickerChange: function (e) {
- this.setData({
- index: e.detail.value
- })
- }
- })
- <!--index.wxml-->
- <view class="section" style="background:#787878;margin:20rpx;padding:20rpx">
- <picker bindchange="bindPickerChange" value="{{index}}" range="{{array}}">
- <view class="picker">
- 國(guó)家:{{array[index]}}
- </view>
- </picker>
- </view>
- <view class="section" style="background:#787878;margin:20rpx;padding:20rpx">
- <picker mode="time" value="{{time}}" start="09:01" end="21:01" bindchange="bindTimeChange">
- <view class="picker">
- 時(shí)間 : {{time}}
- </view>
- </picker>
- </view>
- <view class="section" style="background:#787878;margin:20rpx;padding:20rpx">
- <picker mode="date" value="{{date}}" start="2015-09-01" end="2017-09-01" bindchange="bindDateChange">
- <view class="picker">
- 日期: {{date}}
- </view>
- </picker>
- </view>
選擇器用mode來(lái)區(qū)別,默認(rèn)是普通選擇器,e.detail.value拿到的值是選擇了項(xiàng)的索引index,再通過(guò)array拿到值.在data里面做初始化的時(shí)候,將備選項(xiàng)加入array即可.
選擇時(shí)觸發(fā)bindPickerChange事件,獲取index.
②時(shí)間選擇器
mode = time時(shí),是時(shí)間選擇器.start,end分別是有效時(shí)間范圍的開(kāi)始和結(jié)束.格式hh:mm
選擇時(shí)觸發(fā)bindTimeChange事件,獲取time.
③日期選擇器
mode = date時(shí),是時(shí)間選擇器.start,end分別是有效日期范圍的開(kāi)始和結(jié)束.格式y(tǒng)yyy-MM-dd
選擇時(shí)觸發(fā)bindDateChange事件,獲取date
本文地址:http://22321a.com/wxmini/doc/course/22966.html 復(fù)制鏈接
如需定制請(qǐng)聯(lián)系易優(yōu)客服咨詢(xún):800182392 點(diǎn)擊咨詢(xún)


